Showing posts with label dried apricots. Show all posts

Monday, January 10, 2022

Wait a Minute – Christmas Is Over?!

What’s cooking? Mamo’s Apricot Tarts


You say Santa has come and gone?! But I have these tarts for him! Well, “Qué será, será.” What this really means is that I started this post before Christmas, and then... well, you know,... Christmas. So a few things got lost in the shuffle. But these delightful little pastries are so easy and fun that I felt sure you wouldn’t really care if they’re too late to be Santa treats. Make them now, and then again in December for Santa.

My maternal grandmother was not known for her cooking. But she had two recipes at which she succeeded magnificently: brownies and apricot tarts. One of these days, I will divulge the secret recipe for her brownies – known to all of my friends as “Mamo’s Brownies” – but today is the day for her apricot tarts.

She sent me shoe boxes of them when I was away at college, and my suitemates would fall on them like thirsty men at an oasis in the desert. (Do you ever wonder why it was always men dying of thirst in the desert? Personally, I think women are much too smart to strike out on their own in unforgiving climes. But I digress.) Anyway, those little nibbles were that good. Not overly sweet, with a flaky crust dusted with powdered sugar, and a tiny surprise of stewed apricots inside.

I recently decided to try making them myself. I had plans to see my grandchildren over Thanksgiving, and we always enjoy baking together.

The first challenge was to adapt the recipe. For instance, hers called for three 3-ounce packages of cream cheese, which now only comes in 8-ounce packages. The second ingredient was two sticks of margarine. Margarine? As a committed butter user, I had to work my way around that one. Then there was no indication of the size of the “one package” of dried apricots. And on it went. To call the instructions minimalist would be a vast understatement. But the Kitchen Goddess forged ahead.

This project was especially fun because there’s a lot the grandchildren could do themselves. Once I got the dough rolled out, the 9-year-old cut out her own circles of dough, loaded them with the stewed apricots, and pinched the sides together herself. The 7-year-old didn’t like the icky way the dough felt on his hands, so I held the round of dough while he spooned apricots into it; then I folded it over and he pinched it shut. We managed this and another easy cookie (for another post), and we only took about 5 hours. It turns out that every project takes extra time when you’re baking with kids.

So here they are. I will give you the recipe the way I made them, which was by stewing apricots. My cousin Helen goes the simpler route and fills them with really good, really thick apricot preserves. I will leave you to make your own choice – including that of using a different fruit altogether – and you don’t have to tell me which direction you went.

Kitchen Goddess note: In the recipe below, the KG uses a combination of unsalted butter and Crisco – a technique she borrowed from her rollout cookies. You can just use 2 sticks of butter if you prefer, but Crisco’s higher melting point means it keeps the pastry layers separate longer as the dough bakes, which increases the flakiness/tenderness of the pastry and helps the tarts hold their shape in the oven.


Mamo’s Apricot Tarts

Makes about 3 dozen.

Ingredients

For the filling:
8 ounces dried apricots, cut in ¼-inch dice
½ cup sugar
about 2 cups of water

For the crust:
2 cups (250 grams) all-purpose flour
Rounded ¼ teaspoon kosher salt
One 8-ounce package cream cheese, chilled and cut into about 8 portions
10 tablespoons cold unsalted butter, cut in ½-inch dice
6 tablespoons Crisco

For the finished pies:
¼-½ cup powdered sugar

Special equipment: biscuit cutter, 3½-4 inches in diameter (I used a scalloped biscuit cutter because I thought it would look pretty, which it did, but – obviously – you can also use one with a plain edge. My grandmother used the lid to her percolator, so who knows what the original dimensions were.)

Directions

Start the stewed apricots first. In a small saucepan, stir together the apricots, the sugar, and 1 cup of water. Bring the mixture to a low boil and stir occasionally as the apricots absorb the water and become softer.

As the mixture becomes jammier, add more water in ½-cup increments. Continue to stir occasionally until the apricot pieces begin to lose their form, and the mixture becomes truly jammy. Periodically, you may want to adjust the heat to keep the apricots from burning. Stop cooking when it reaches a degree of jamminess you like. (The Kitchen Goddess tends to cook hers for about 2 hours.) Set aside to cool. 


Almost forgot to take this photo -- it’s what I had left after two batches of tarts. But you can see
the consistency of my stewed apricots. Pretty jammy.

Kitchen Goddess note: This recipe will make more apricot mixture than you need for one batch of tarts, but it freezes well in a plastic container, so you can make another batch at a moment’s notice!

While the apricots are cooking, make the dough.

Kitchen Goddess note: You can go the traditional route – mixing the dough by hand, using a pastry blender – but why would you? My grandmother mixed her dough by hand, but she was younger than I am now, and had no food processor. The KG uses her handy food processor, and has been delighted with the results. It takes almost no time at all, and it keeps the butter and shortening cold, which is key to producing flaky pastry. And the grandchildren enjoy taking turns at pulsing the machine.

Measure your flour and salt into the bowl of a food processor and pulse 3-4 times, to aerate the flour. Scatter the cream cheese, Crisco, and cold butter evenly on top of the flour, and pulse until the dough begins to come together in a couple of large lumps. This will take 20-25 pulses, depending on how long your pulses are.

Transfer the dough to waxed paper or cellophane wrap and refrigerate for 1-2 hours. A warning: You can actually refrigerate it overnight, but it becomes difficult to work with after only a couple of hours.

Prepare a baking sheet (or two) with baker’s parchment, and preheat the oven to 375º. Prepare a small (custard-size) bowl with about ¼ cup of cold water.

Divide the dough into halves, working one half at a time and refrigerating the other half. On a well-floured surface, roll the dough out to a ⅛-inch thickness. Use the biscuit cutter to cut circles you can hold on your open palm. Fill each circle of dough with about a teaspoon of the stewed apricots (or preserves), placing it slightly off-center so you have the other half to fold over. Dab a bit of the cold water around the edges of the circle, to help “glue” the two halves together. Fold the dough circles in half and use your fingers to gently press the rounded edges together.


Ready for the oven.

Ready for the powdered sugar!


Place the completed tarts at least an inch apart on the baking sheet and bake 23-25 minutes until light golden brown on top. Set the pan on a baking rack and let the tarts cool for 5-10 minutes. While they are still warm, sift powdered sugar over them. The tarts will keep, stored in a closed container, for several days.


Happy January to you all!

Monday, February 22, 2021

Down a Rabbit Hole of Mushrooms

 What’s cooking? Crispy Stuffed Mushrooms with Dried Apricots


When I started this post, it was to suggest a meal for Valentine’s Day. I had thought mushrooms had aphrodisiac properties. But do they really? In a word, no. And then the day came and went while my hubby and I battled the 2021 Wicked Winter Storm here in Austin. We had no power in the part of the house that has the guest rooms, and no heat in the part that has our bedroom and bathroom. Sleeping is fine – under a toasty down quilt – and we heated the bathrooms via towel warmers, hoping we could hold off taking showers until the HVAC guys could come.

I’ll still give you this recipe because it’s something different and versatile and a great mix of flavors and textures. The Kitchen Goddess and her mate have dined on it twice now, and made all gone both times. And now that we’ve moved from Valentine’s Day and Lunar New Year to Ash Wednesday and into Lent, these meat-free options for dinner are popular.

I went foraging for mushroom dishes in past blog posts, to take a look at what I’ve already written about mushrooms. I discovered, embarrassingly, that pretty much all the information I had gathered for this post has already appeared. No wonder it all seemed familiar. So. All that stuff about how good they are for you, how to buy them and store them, and even about the different kinds of wild and cultivated fungi, has been presented, perhaps ad nauseum, on these “pages.” If you missed them, here’s a lightning round of mushroom deliciousness from the past.

First, the soups. I’d forgotten how much I love mushroom soup, and here are two – one made with cream and one made without. The first, creamy but cream-free, is Wild Mushroom Soup with Madeira.


Then there’s the creamy version: Crimini Mushroom Soup.


I never get tired of mushrooms combined with pasta. So here’s Pasta with Wild Mushroom Sauce, simple and straightforward.


As with classic Bolognese, this Mushroom Bolognese gets an extra boost of flavor from the veggie base, and its texture is amazingly like ground beef.


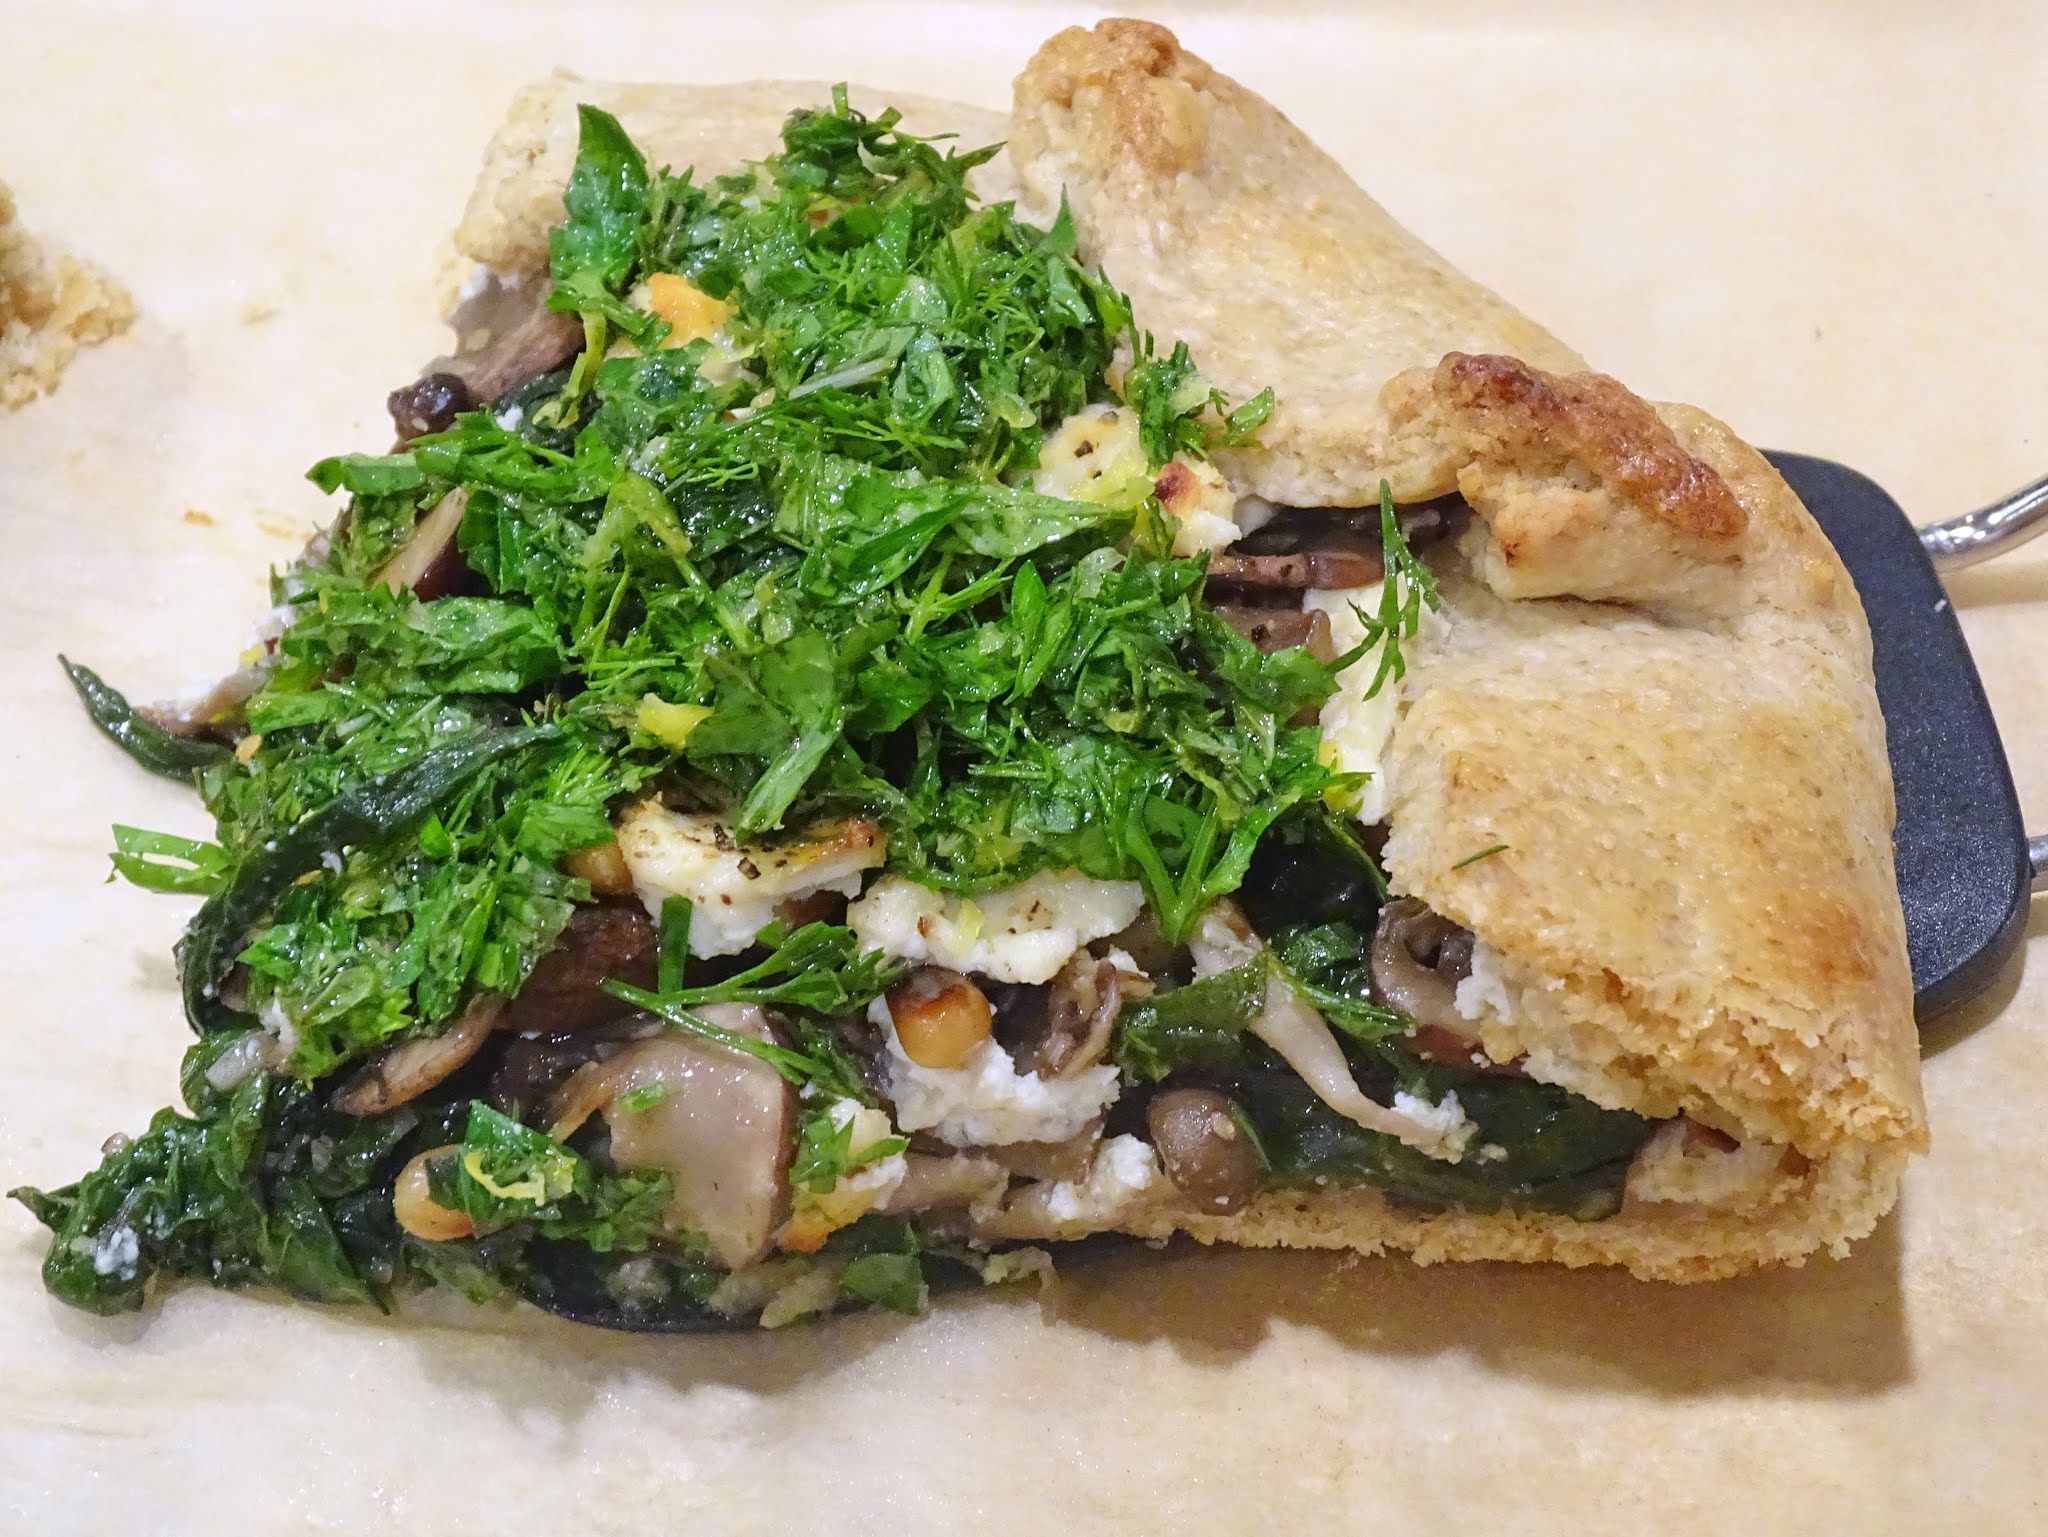
I like anything in a rustic tart – so much easier to make than it looks! Here’s my Swiss Chard and Mushroom Tart with Whole Wheat Pastry.


And finally, the easiest – but still delightful – meal possible, is mushrooms on toast. The first shown below is Morel Mushroom Toasts with Parsley Salad; the second – the country mouse version – is   Mushroom Toast. Add a nice salad or veggie and you’re done.


Historically, the season for mushrooms is autumn, but these days, you can find mushroom farmers all over the world, producing plentiful year-round crops, not only of the traditional white button ‘shrooms, but also of criminis (brown button mushrooms), portabellas (just a mature version of the first two, but with a strikingly different texture), and shiitakes (most often in East Asian cuisine). In the past 50 years, farming has extended to oyster mushrooms, enokis, and pioppino mushrooms. And why not? As a crop, they’re profitable, easy to grow, and have a remarkably low impact on the environment. But even wild mushrooms that are difficult to cultivate – like porcini, chanterelle, and hen-of-the-woods – can be found year round these days. My NJ farmers’ market features a guy who forages all over the state during the summer. 

So without further blathering, here’s the recipe that started me down this road: Crispy Stuffed Mushrooms with Apricots – a perfect sweet-savory mix that you can use as an hors d’oeuvre or an entrée. The topping has a tendency to crumble, so when you shop for the mushrooms, you’ll want to focus on how you’ll be serving them. Hors d’oeuvres need to be small enough to take in one bite, whereas the larger mushrooms are deeply satisfying to eat with a fork. Serve as an entrée over egg noodles or rice, with the leftover filling sprinkled as a garnish.

Kitchen Goddess notes on the ingredients:

■ The crinkly texture of the breadcrumbs is essential, so the Kitchen Goddess begs you to get panko crumbs at your grocer, rather than traditional breadcrumbs which have an unfortunate tendency to compact. (Also, panko is lower in calories, fat, and sodium than regular breadcrumbs.) The crispy topping contrasts really nicely with the earthy smoothness of the mushrooms, and the spice mix in the topping adds a wonderful zing.

■ KG’s curbside service delivered a really random assortment of sizes, mostly larger than you would use as hors’d’oeuvres. So you may want to visit the store in person if you need uniform sizes. But we’re not having parties these days anyhow, are we? Just be sure to get mushrooms with stems, as you’ll need the stems for the filling.

■ If you don’t have dried apricots, other dried fruits will also work. Cranberries, craisins, prunes, dates...


Crispy Stuffed Mushrooms with Apricots

Adapted from Melissa Clark in The New York Times

Yield: Serves 2 as entrée, 4 as hors d’oeuvres.

Time: Ms. Clark claims 45 minutes, but that’s if you have minions to chop and measure out ingredients. Without minions, add 30 minutes for the prep.

Ingredients
8-9 ounces crimini (preferred) or button mushrooms
5 tablespoons extra-virgin olive oil
½ small onion, finely chopped (about ½ cup)
1 garlic clove, minced (about 1 rounded teaspoon)
1 teaspoon Aleppo pepper (or ¼ teaspoon cayenne pepper + ¾ teaspoon sweet paprika)
2 tablespoons tomato paste
½ teaspoon kosher salt, more to taste
¼ teaspoon ground cumin (if you like cumin, feel free to add a bit more
½ cup panko bread crumbs
⅓ cup, plus 1 tablespoon grated Parmesan
¼ cup chopped cilantro leaves and tender stems
2 tablespoons chopped dried apricots
1 teaspoon finely grated lemon zest
Freshly ground black pepper
Lemon wedges, for serving

Directions
Preheat oven to 400º.

Separate the mushroom stems from the caps and chop the stems.

In a medium-sized skillet (10-inch diameter) over medium heat, add 2 tablespoons olive oil and let it warm up for about 20 seconds, until it thins out. Add the chopped mushroom stems and the onion and cook, stirring often, for 5-7 minutes until the stems are lightly browned and the onion is translucent. Add the garlic, Aleppo pepper, tomato paste, salt, and cumin, and cook, stirring almost constantly, until the tomato paste darkens and the garlic is fragrant, about 1 minute.


Add the panko and 1½ tablespoons olive oil to the mixture and continue to cook, stirring constantly, for 4-6 minutes, until the bread crumbs appear lightly toasted. Watch carefully to make sure the bread crumbs don’t burn. Remove the pan from the heat and scrape the mixture into a medium-sized mixing bowl. Add the ⅓ cup Parmesan, the cilantro, the dried apricots and the lemon zest, and toss well to combine. Taste and season with black pepper and more salt if needed.


Line a rimmed baking sheet with parchment paper or spray it lightly with PAM. Place the mushroom caps on the pan with cavities facing up. Drizzle the insides of the caps with the remaining 1½ tablespoons olive oil and season with salt and pepper. Using a spoon, stuff the mushroom caps with the seasoned bread-crumb mixture. I found that there’s a lot of filling to be used, but the mushrooms taste best with as much as you can pile on. You can use your fingertips to gently mound the filling together.


Sprinkle the remaining 1 tablespoon of grated Parmesan on the mushrooms. Bake 15-20 minutes, until the tops are crisp and golden. Serve hot or warm, with lemon wedges for squeezing over the tops. If you are serving over rice or lightly buttered noodles, sprinkle the leftover (and there will be some) stuffing around as garnish. 

To make ahead: You can stuff these little darlings as many as 6 hours in advance. If you are making them more than an hour ahead, it’s probably best to cover the tray with cellophane wrap and refrigerate them. If only an hour in advance, you can leave them out.

Bon appétit!