Tuesday, December 30, 2014

Endings and Beginnings -- Celebrating with Elegance, Part 2
What’s cooking? One-of-Each Soup and Chestnut Ginger Soup


When you’re having a formal dinner party – or at least one that you want to structure as formal, even if the guests are wearing jeans – there are lots of choices as to what you feed your guests at the outset. Even the terms can be confusing: appetizer, hors d’oeuvre, or amuse-bouche? The Kitchen Goddess is here to the rescue.

Usually, the difference is in when and how much you serve. An hors d’oeuvre – which translates “apart from the main work” – is a food item you serve before the main meal. It’s supposed to be small, even bite-sized, and can be plated or passed. Normally, it shouldn’t require a fork or spoon to eat. An amuse-bouche (which means “mouth amuser,” although the Kitchen Goddess thinks it’s really bad manners to laugh with your mouth full) is a single, bite-sized hors d’oeuvre, not passed, and usually presented at the table to show off the skills (“Sacré bleu!”) or imagination (“Quelle surprise!”) of the chef. An appetizer is a plated course you serve before the entrée – a bit of food that’s designed to stimulate the appetite. So it shouldn’t be heavy or overly rich.


Soups make a great appetizer, and can even be served (i.e., passed) hors d’oeuvre-style if you have a way to offer small servings. One that I’m particularly fond of is a set of 2½-ounce parfait glasses from Libbey. They’re available at several places on the web (J.C. Penney and Bed Bath & Beyond, for example), and for soups that are a bit thick, I serve them with a straw.

One-of-Each Soup
So today, the Kitchen Goddess has a couple of elegant soups with which to start a special holiday meal. The first is one I’ve written about once before, but had no photos. It’s called One-of-Each because you use only one of each of the ingredients. It appeared ages ago in Gourmet magazine, in response to a reader’s request – a reader who was so effusive that I decided to try the dish regardless of how weird the ingredient list was. I’ve now made the soup many times – always to rave reviews – and today, I have photos that’ll give you an idea of serving options.

Chestnut Ginger Soup
The second is a more seasonal soup, a Chestnut Ginger Soup from the Culinary Institute. If you are really into self-abuse, you can buy whole chestnuts in their shells and roast them and peel them. The Kitchen Goddess did that...once. OR, you can follow the KG’s current habit and buy roasted and peeled chestnuts in a jar or can. The soup will not know the difference. But chestnuts are generally available only in the holiday season, so run out and get some now because you will not believe how well the nuts and the cream and the ginger come together – like velvet on the tongue.

Both soups are purées, so you can serve them as passed hors d’oeuvres or on a plate as a first/appetizer course. Both are unusual flavors: the One-of-Each Soup has a mild, fruity, curry flavor; the Chestnut Ginger Soup is a really mellow combination of nutty and (duh) ginger. Both can be served warm or cold, though I have a slight preference for serving the Chestnut-Ginger Soup warm. Both soups are a host/hostess’s delight, guaranteeing a flurry of “Oooh, what is this?” and “Wow – this is great. What’s in it?” You can smile knowingly and say, “It’s a secret.” Or you can tell them. It’s good either way.


One-of-Each Soup

(adapted from Gourmet magazine, December 2001)

Serves 8 as a first course, or 4-6 as a main course.

1 large boiling potato (½ pound), peeled and coarsely chopped
1 medium onion, coarsely chopped
1 celery heart (stalks with leaves), coarsely chopped (½ cup)
1 large apple (preferably Granny Smith), peeled and coarsely chopped
1 firm-ripe banana, coarsely chopped
1 pint chicken broth
1 cup heavy cream (can use light cream if you prefer)
1 tablespoon unsalted butter
1 rounded teaspoon curry powder
1 teaspoon salt
Chopped fresh chives for garnish

Simmer vegetables and fruits in broth in a 3-quart heavy saucepan, covered, until very tender, about 15 minutes. Stir in cream, butter, curry powder, and salt and heat just until hot (do not boil!).

Purée the soup in a blender until smooth (be careful when blending hot liquids). The soup will be thick; if you prefer a thinner soup, add a small amount of water. Serve sprinkled with chives.


Kitchen Goddess note: You can make this soup ahead and reheat to serve, but do not let it boil, as that will cause the milk fats to separate. It has a tendency to thicken in the refrigerator; if so, just add water or chicken broth to reach a consistency you like. It’s equally delightful hot or cold.


Chestnut Ginger Soup

Adapted from the CIA Book of Soups

Makes 4-6 servings as appetizer, 16 as hors d’oeuvre.

1 tablespoon unsalted butter
½ cup celery, diced
⅓ cup carrot, diced
1¼ cups leek (white and light green parts), chopped
¾ cup onion, diced
1 quart good quality chicken broth
10 ounces chestnuts (roasted, peeled), roughly chopped
2 rounded tablespoons grated fresh ginger root
2 tablespoons freshly squeezed orange juice
¾ cup heavy cream, heated
½ teaspoon salt
¼ teaspoon white pepper, ground
additional salt & pepper, to taste

Garnish: Mix equal parts whipped cream with sour cream and grated fresh ginger to taste.

Heat the butter in a soup pot over medium heat. (I use a 5.5-quart Le Creuset Dutch oven.) Add the celery, carrot, leek, and onion, and sauté, stirring occasionally, until the onion turns a light golden, 12-15 minutes.

Stir in the broth, the chopped chestnuts, and the ginger. Raise the heat until the soup begins to simmer, then monitor the heat to maintain a simmer, stirring occasionally for 35-40 minutes, until the ingredients are soft.

Purée the soup in batches, being careful not to overload the blender, as hot liquids can be dangerous. Return the soup to the heat, add the orange juice, and simmer 2 minutes.

Add the heated cream, salt and pepper, and adjust seasoning (including more orange juice, if you like) to taste. Top each serving with a dollop of the whipped cream/sour cream/ginger mix.


And have a joyful New Year’s Eve, everyone!

Wednesday, December 24, 2014

Endings and Beginnings – Celebrating with Elegance, Part 1
What’s cooking? Mocha Dacquoise


So much to celebrate – Christmas and Hanukkah and Kwanzaa, and maybe just a time of focusing on good will to others. The holiday season also has much to do with beginnings and endings – winding up the old year, ushering in the new.

It’s a perfect time of year to drag out the crystal, china, and sterling silver flatware, if you have them. But “elegance” when you’re entertaining doesn’t require “fancy,” just a sense of specialness. At a minimum, you want to use your best cloth napkins and something festive in the center of the table. And, of course, as many candles as you can stand.

When it comes to beginnings and endings, the Kitchen Goddess thinks there’s no better way to make the evening more memorable than a great start or a spectacular finish. The first course or main hors d’oeuvre sets the tone for the full meal and gives your guests a hint of deliciousness to come. If the dinner is thematic, the start should be part of that theme. In other words, don’t open with an antipasto platter if you’re having coq au vin for the main course.

By the same token, a beautiful dessert can foster a lasting memory of your dinner even without a standout main course. Finish it with a dollop of fresh whipped cream, or maybe a sprinkling of, well,... sprinkles. Silver dragées can dress up anything, and those sorts of details make your guests feel like you’ve gone to a bit of extra effort for them. Everyone likes to think they’re special.

In line with the old “Life is short – eat dessert first” maxim, today the Kitchen Goddess will reveal her most outstanding dessert ever. The dessert she herself will be serving New Year’s Eve. Elegant, sophisticated, and delicious, it is – at least in the KG’s experience – universally loved, even by friends who are not sugar freaks. The last time she served it, one guest actually pronounced it “orgasmic.” So there.

The dessert is a Mocha Dacquoise, in essence, a cake made from layers of nut-based meringues sandwiched with a filling of buttercream. Every bite is a textural symphony, bringing chewy, almond-flavored meringue together with smooth-as-silk caramel-coffee buttercream, in a perfect harmony of flavors.

The recipe originally appeared in Ruth Reichl’s second memoir, Comfort Me with Apples, wherein Reichl declares that dacquoise was crazy popular as a dessert in New York in the 1970s. It takes a bit of work, but it’s not hard. You can make the parts a day or so ahead and assemble them on the day of the dinner. And the finished “cake” is sufficiently rich that most guests will be happy with a small piece, allowing you to serve as many as 16 from a single recipe. A small bonus is that it happens to be gluten-free.


Mocha Dacquoise


For the almond meringues:
1¼ cups whole or slivered blanched almonds
¾ cup plus 2 tablespoons granulated sugar
1 tablespoon cornstarch
6 large egg whites
¼ teaspoon cream of tartar
pinch of salt

For the mocha buttercream:
1 cup granulated sugar
6 large egg yolks
½ cup heavy cream
2 tablespoons instant espresso
¼ teaspoon salt
2 sticks butter, cut into eighths and allowed to soften to room temperature

For the garnish:
Confectioner’s sugar
¼ cup toasted sliced almonds

Step 1: Make the meringues

Preheat the oven to 275º. Line two large baking sheets with parchment paper and draw a 10-inch circle on each, using the bottom of a 10-inch cake pan as a guide. Flip the papers over so that the pen/pencil is on the underside – don’t worry, the circles will show through.


Pulse the almonds in a food processor with 2 tablespoons of sugar until the nuts are finely ground. Add the cornstarch and pulse until combined.


In a standing mixer on high speed, beat the egg whites with the cream of tartar until soft peaks form. Reduce the speed to low and gradually add the remaining ¾ cup of sugar, then return the mixer to high speed until the whites form stiff, glossy peaks. Using a rubber spatula, gently but thoroughly fold in the almond mixture.


Divide the meringue mix evenly between the two parchment circles, spreading to the edges of the circles. Bake the meringues in the upper and lower thirds of the oven, switching the pans halfway through the baking time, until they are firm and pale golden in color. Total baking time should take about an hour. When the meringues are done, slide the parchment paper with the meringues onto racks to cool.

If you are not assembling the dacquoise on the same day, wait until the meringues are cool and carefully peel off the parchment, then either wrap the meringues in cellophane or put them in an air-tight container until ready to assemble.


Step 2: Make the buttercream

Start by cutting the butter into tablespoons and setting it out to soften.

In a standing mixer, beat the egg yolks with ½ cup of sugar on high speed until thick and pale, about 4 minutes.

While the yolks are beating, whisk the cream with the remaining ½ cup of sugar in a small saucepan, and bring it to a boil, stirring only until the sugar is dissolved.

With the standing mixer running, slowly pour the hot cream into the yolk mixture. Add the espresso powder and the salt and continue mixing just until combined. (Do not be concerned if the espresso powder appears grainy – it’ll dissolve in the custard as it cooks.)

Kitchen Goddess CAUTION: You are about to pour the custard into a saucepan and cook it, stirring constantly until it reaches 170º. And then you’re going to need a CLEAN mixing bowl for it. If, like the Kitchen Goddess, you have only one bowl for your standing mixer, and no helpers waiting breathlessly by to clean it out while you stir the custard, you will then holler “Holy shit!” and race to get that bowl clean. So a word to the wise: Pour the custard into the saucepan and set it aside briefly while you wash your mixing bowl. Or buy a second bowl.

Ready? Ok...here goes...
Pour the custard back into the saucepan and cook, stirring constantly with a rubber spatula to keep the custard from adhering to the bottom of the pan, until an instant-read thermometer registers 170º. [The Kitchen Goddess also doesn’t have an instant-read thermometer, so has to use the kind that clips onto the side of the pan, which means she goes a little crazy moving the thermometer around the edges of the saucepan to keep the custard from clogging up behind the clip as it cooks. You’d think she’d get an instant-read just to avoid that, but we’re all crazy in our own ways.]


Once the custard reaches 170º, transfer it to the clean mixing bowl and beat at medium speed until cooled completely, 5-6 minutes. [This phrase, “until cooled completely,” is critical, as you do not want the butter to melt when you add it to the custard. I find that 5-6 minutes will produce adequately cooled custard.]


When the custard has cooled, with the mixer running, add the butter 1 tablespoon at a time, watching that each piece gets fully incorporated before adding the next. When all the butter is incorporated into the buttercream, transfer it to a smaller bowl (I do this only out of convenience because the mixing bowl is large and unwieldy), cover it and chill it for at least 30 minutes before proceeding.


Step 3: Assemble the dacquoise

At right is the 2nd meringue, smooth side up. It goes on top of the meringue/buttercream at left.

Carefully peel the parchment from the backs of the meringues. Place one of them smooth side down on a plate and spread about 90 percent of the buttercream evenly on top of it. Place the remaining meringue smooth side up on top of the buttercream. Use that final 10 percent of the buttercream to fill in the gaps along the edges of the meringues, and decorate the outside edge of the buttercream with the toasted almonds.

Cover the dacquoise loosely with cellophane wrap and chill until firm, at least 2 hours. When ready to serve, dust the top with confectioner’s sugar.

Final notes:

You can make the meringues and the buttercream a day ahead, but it’s best not to assemble the dacquoise until the day you plan to serve it.

■ Keep the meringues in an airtight container at room temperature. If they start to feel damp and sticky, put them in a 275º oven for 5 minutes.

■ Keep the buttercream tightly covered in the fridge. Remove it – to let it soften slightly – about 20 minutes before you plan to assemble the dacquoise.

Monday, December 22, 2014

Announcing the Winner!

Congratulations to... (drum roll, please)...


Lisa Edwards is the lucky winner of a Hamilton Beach Stack & Snap Food Processor.

I want to thank all of you who made such nice comments in order to enter. I only wish I had enough of the Hamilton Beach machines to send one to each of you. But later today, I’ll be posting a terrific recipe that will make you the star of the show for your holiday gatherings. So stay tuned and stay merry...

Friday, December 19, 2014

Ho, Ho, Ho! The Kitchen Goddess’s 2014 Gift Guide for Foodies
What’s cooking? Are you kidding? Who has time to cook?


Only 6 more shopping days until Christmas, and five days of Hanukkah remain. So if you’re running out of great ideas for your cook-wise, food-centric friend or lover, here are a few you may have missed.


And in case you’re wondering, the Kitchen Goddess has not received as much as a sugar plum for these recommendations. She is a wonder of ethical virtue.


Stocking Stuffers


■ Sharp-eyed readers of this blog will recognize this mezzaluna chopping knife as having made an appearance on my list last year. Well, Santa must have been reading Spoon & Ink, because the Kitchen Goddess got one in her stocking, and it’s such fun to use, I decided it deserved an encore. You’re using both hands to chop as you rock the blade back and forth, so it’s a lot easier than using a chef’s knife, and it does a great job of mincing small-scale stuff that you often have to chase around the chopping board: garlic, spring onions, shallots, and any kind of herb. And the handles flip around to guard against an accidental attack in the kitchen drawer. It’s $15.00 at the Museum of Modern Art; amazon.com sells the green-handled version for the same price, or the same product with light gray handles for only $12.88. Go figure.

■ When your kitchen is about 90 percent stainless steel, you can spend your life trying to get rid of the fingerprints, smudges, and smears of daily life. But all that changed when I found the Casabella Microfiber Stainless Steel Magnet Cloth. I wipe up food with a sponge, then a quick swipe with a damp green Casabella cloth polishes my counters and appliances to a sheen without chemicals or abrasives. Glass, too. If your friend or loved one doesn’t have this cloth, he/she will adore you forever when you add this to their stocking. It’s only $5.99 at the Container Store, $6.15 at amazon.com.

■ As you know, the Kitchen Goddess has a love of candles that borders on the fanatical. Here are two of her favorites. These Wine Cork Candles ($9.95 at Sur La Table for a set of 4) offer – at last! – a use for all those empty wine bottles. In fact, you can even consider the candles as providing a great reason to drink another bottle of wine. The more candles, the merrier...


The artichoke candles are a more serious option, at a more serious price ($30.00 for a set of 4 at casa.com or amazon.com). But I’ve found that once they’ve burned about halfway down, you can stick a tea light in the middle and reuse them practically forever.


■ Here’s something you never knew you or your local home chef needed. A bread wrap. Yes, you read that right: a bread wrap. From a company called Bee’s Wrap. Organic cotton muslin that’s been dipped or somehow saturated with beeswax, jojoba oil, and tree resin. Sounds weird, I know, but you wrap a loaf of bread in this cloth, then use the warmth of your hands to mold the wrap around the bread. It’s antibacterial, seals perfectly, and keeps the bread fresh. You can wash the wrap in cool water and use it over and over. And it works. Take it from the Kitchen Goddess.


■ I wouldn’t really suggest that you stuff a plant into a stocking, but an aloe vera plant is a great gift for a home chef. The Kitchen Goddess is no stranger to kitchen burns. So she keeps an aloe vera plant as a permanent fixture. Snap off the tip of a leaf, squeeze out the gel onto the burn, and feel better immediately. These little plants are easy to grow – in fact, hard to kill – and are effective in relieving all sorts of minor skin irritations. Pick one up at your local garden store. According to aloevera.com, they also do great work in purifying the air. Who knew?


Actual Food


■ While it’s probably not a great idea to stick cheese under your tree, a gift certificate to a local cheese store is always welcomed with joy by any foodie on your list. Find a good local cheese shop – like Antonelli’s Cheese Shop in Austin or The Summit Cheese Shop in New Jersey – or fall back on a place like the famous and fabulous Murray’s Cheese Shop in New York City, which sells gift cards and gift boxes that will have your friend or loved one melting with gratitude.

■ Did you know that olive oil is at its best when consumed within six months of bottling? Which means it’s a great idea to get to know the offerings of your local olive oil manufacturer. They’ll make great gifts for anyone who likes to cook. According to the American Olive Oil Producers Association, you can get locally produced olive oil from California, Arizona, Texas, Georgia, Florida, Oregon and Hawaii. So if you live in one of those states, check out a local producer and try their products. They’re likely to be fresher and of reliably higher quality than much of what makes it here from Europe. And if you don’t live in one of those states, try getting oil from the nearest producing state.

■ Here’s an idea that intrigued the Kitchen Goddess so much that she had to order some: Chili Granola by Bad Seed ($16 for 8 oz). It’s made in Queens, New York, and it’s a “Food & Wine Selects” choice by that magazine’s editors. Don’t take my word for it – I haven’t even tasted the stuff – but F&W’s Executive Food Editor says, “Popping with flavor and crunch, this savory condiment is a happy mashup of hot chile oil and the crisp and crunchy grains and seeds you associate with granola. It's great on everything from eggs, avocado, hummus or yogurt to salads and sliced roast chicken or pork.” So what’s in it? Seeds and nuts and ginger and miso and brown sugar... just for starters. Doesn’t that sound like a food lover’s treat?


Cookbooks


Three books have tweaked the Kitchen Goddess’s imagination this year – and, after all, that’s what a good cookbook does, isn’t it? Beyond instructing us on a particular preparation, it inspires us to think in new ways. So with that thought in mind, I present these:

■ The publisher Little, Brown, should be congratulated on the really elegant presentation of Michael Ruhlman’s new book, Egg. Ruhlman, who has co-authored cookbooks with culinary kingpins Thomas Keller, Eric Ripert, and Anthony Bourdain, started his cooking/writing life with The Making of a Chef: Mastering Heat at the Culinary Institute of America. Egg includes an ingenious pullout flowchart of egg-inspired dishes gives you a nicely global understanding of the relationships among egg dishes. The subtitle, “A Culinary Exploration of the World’s Most Versatile Ingredient,” says it all.


■ Once you’ve eaten at one of Jean-George Vongerichten’s 25+ restaurants, it’s not hard to spot the sometimes playful, always flavorful hints of Southeast Asia in many of his dishes. I thought I’d only been to two of his eateries – Spice Market and ABC Kitchen in NYC – but when I looked at the full list, I noticed Mercer Kitchen in NYC’s SoHo district, and immediately said to myself, “Of course.” So I was thrilled to find a book of his making that at least purported to be for us mortals: Home Cooking with Jean-Georges: My Favorite Simple Recipes. Turns out it actually is. There’s the occasional odd ingredient (unsalted yuzu juice?), but I expect they’re not hard to find at a decent Asian market. So,... gorgeous photography, simple and straightforward instruction, and those dishes I’ve tried delivered on the promise.

■ I’m a complete sucker for Italy’s Amalfi Coast, and so is my hubby. Last year, when he gave me this book – by the owners of the A16 restaurant in San Francisco – I was skeptical that it could produce anything remotely like the tastes available in Positano, Ravello, Salerno, Amalfi,... But while there’s still nothing like sitting in an outdoor café overlooking the Mediterranean, eating fish just pulled from the sea, the vibe is still there in this book, A16: Food + Wine. And a feature you don’t often find is the wine section, which gives an excellent and totally readable discussion of what comes from the grapes of the region.


If He/She Has Been Particularly Nice This Year,...


■ You may want to splurge on the best espresso maker I’ve ever experienced. Lattes, capuccinos, and straight espressos are easy and so authentic tasting, I thought maybe I’d just been transported to an espresso bar in the heart of Rome. Nespresso’s Citiz & Milk is $299.00 at every place I looked, including Crate & Barrel, Williams-Sonoma, Sur La Table, and amazon.com. I know – that’s a lot of Starbucks, but you don’t have to get dressed for this one.


* * *

P.S. It's not too late to leave a comment – here or on the Spoon & Ink Facebook page – to be entered in the drawing to win a Hamilton Beach Snap & Stack Food Processor. See my previous post for details.

Happy Holidays to you all!


Sunday, December 14, 2014

A Holiday Giveaway!! Season’s Greetings from the Kitchen Goddess
What’s cooking? Italian Veggie Gratin


In the spirit of holiday cheer, my friends at Hamilton Beach have offered another giveaway to Spoon & Ink readers: a Stack & Snap™ 10-Cup Food Processor. They sent me one for testing, and I used it to make an Italian-inspired vegetable gratin. But more on that later. First let’s talk about how you can get your own Stack & Snap – free!

Win a Hamilton Beach Stack & Snap 10-Cup Food Processor!
If you’d like to participate in the drawing for one of these handy time-saving, work-saving machines, all you have to do is leave a comment – either at the bottom of this post or on the Spoon & Ink Facebook page. Just be sure to sign it, and you’ll be entered to win. I’ll be drawing a name and announcing it in a post on Monday, December 22. So leave your comment before then.


The Kitchen Goddess is not one to insist on all the latest appliances. But a food processor is something that even the non-serious cooks among you should have. In fact, many of my favorite recipes would be complete non-starters in the absence of a food processor: Arugula Pesto, Fromage Fort, Greek Almond Cookies, and 3 of the 4 veggie sides I posted about for Thanksgiving (Asparagus Flan, Sweet Potato-Ginger Soufflé, and Watercress Purée). Moreover, the Stack & Snap Processor is so reasonably priced that, even if you don’t win the drawing, it’s easy to fit one into your budget.

The Machine

The Kitchen Goddess was totally in her element with this road test. First, I tried out the processor’s most basic feature: the chopping blade. It nicely pulverized the almonds for a meringue in a recipe I’ll tell you about another day.


So I moved on to the slicing/shredding blade. For convenience, it's a single blade, with "Slice" clearly marked on one side and "Shred" on the other. I wanted to use both features in a single recipe, so I looked around my kitchen and found onions, zucchini, crimini mushrooms, and a package of those adorable grape tomatoes. I took inspiration from a zucchini gratin posted by the great Ina Garten, whose recipes are known to be easy and straightforward, and I tweaked it in so many ways that it no longer looks like Ina’s at all, though it’s still easy and straightforward.

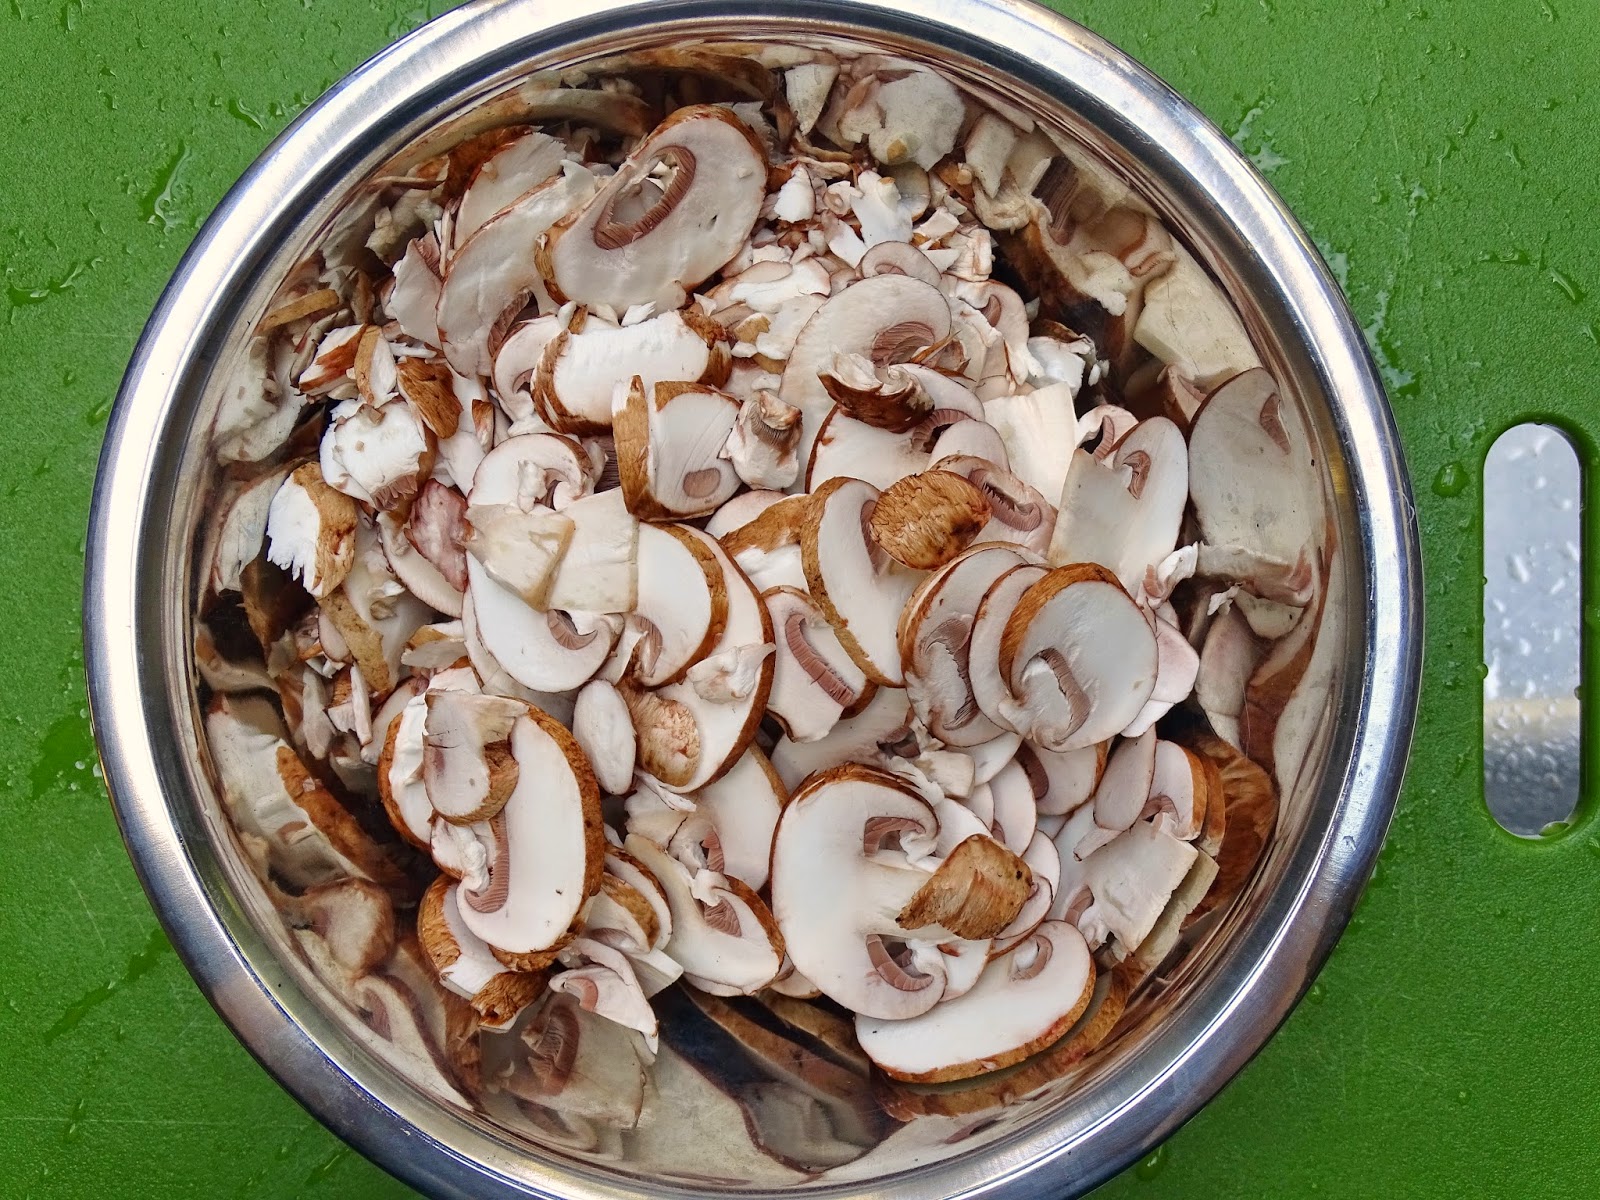
The Stack & Snap performed beautifully, except on the mushrooms, which – frankly – don’t really stand up to any food processor. (Not that it didn’t slice them but it’s too hard to control the position of a mushroom in the feeder tube, so more than a few came out looking like tiny frisbees. I sliced the rest of the mushrooms with my mandoline.) But my Stack & Snap sliced through the onions, the squash, and even the tomatoes like a hot knife through butter. (It’s a Southernism. Forgive me.)


The shredding side of the slicing/shredding disk made short work of a chunk of Parmigiano-Reggiano, and in no time flat, I had the mise en place for my gratin. Which, by the way, is completely delicious and redolent of Italy.


Italian Veggie Gratin


Serves 6.

6 tablespoons unsalted butter, separated
2 large onions (12-13 ounces total), halved and thinly sliced
8 ounces crimini mushrooms, thinly sliced
5 small zucchini (about 1¾ pounds), thinly sliced
10 ounces grape tomatoes, thinly sliced
1½ teaspoons kosher salt
½ teaspoon freshly ground black pepper
4 ounces fresh goat cheese
2½ ounces Parmigiano-Reggiano cheese, grated
1½ cups fresh bread crumbs (or panko or a combination)

Preheat oven to 400º and lightly grease a 2-quart gratin dish (about 12 x 9 x 2 inches).

Melt 4 tablespoons of the butter in a large sauté pan or skillet over medium-low heat and add the onions. Sauté the onions for 20 minutes, stirring occasionally. The onions should cook but not brown, so if they begin to brown, turn the heat down.

While the onions are cooking, take a small skillet (preferably non-stick) and heat another tablespoon of the butter on medium-high. When the butter is hot, add the mushrooms and sauté, stirring, for about 5 minutes. Remove the pan from the heat and set aside.

Once the onions have cooked, add the zucchini, stir, and cook covered for 8-10 more minutes, until the zucchini are tender. Stir in the tomatoes, the reserved cooked mushrooms, and the salt and pepper. Crumble the goat cheese over the mixture and stir it in. Cover and cook another 5 minutes.


Remove the vegetable mixture to the prepared gratin dish. In a small bowl, stir together the Parmigiano-Reggiano and the bread crumbs. Melt the remaining tablespoon of butter and stir it into the cheese/bread crumbs, mixing enough to get the bread crumbs well moistened with the butter. Sprinkle the mix over the vegetables and bake at 400º for 20 minutes or until the top bubbles and browns.


Don’t forget to sign up for the drawing to win your own Stack & Snap Food Processor!

Thursday, December 4, 2014

The Rainbow Connection: Painting Cookies with the Kids
What’s cooking? Painted Roll-out Cookies


Today is National Cookie Day – a tidbit I received from a fellow blogger, Linda Anderson, who focuses on activities for kids. Who makes these things up? Not only do Cookie Monsters and bakers alike celebrate the one day, but apparently, the entire week is Cookie Cutter Week. So sharpen your sweet tooth, folks, and start baking/buying/eating.

The Kitchen Goddess, being naturally skeptical, is not one to let these morsels of information pass uninspected. So she went to Wikipedia – the source of all wacky and wonderful information – where she found that the celebration was started in 1987, by the Blue Chip Cookie Company in San Francisco. As reported in the LA Times back then, the president of the company, one Matt Nader, decided on this historic move because, “It’s just like having National Secretaries Day,” said Nader.

So let’s see, ... cookies versus secretaries, cookies versus secretaries... I don’t know – somehow, I don’t see them as being exactly alike. But we can’t argue with Mr. Nader, who died in 1997.

With or without Mr. Nader, the company is still in business, even though the headquarters has moved to Milford, Ohio. In fact, they claim 5 retail locations: 3 in Ohio, 1 in Kansas, and 1 in ... (wait for it) ... Bogota, Colombia. I kid you not. Now wasn’t this little journey worthwhile?

* * *


As it happens, the Kitchen Goddess celebrated the first day of Cookie Week with her granddaughter, who was visiting from New Jersey. In the search for activities to amuse an almost-3-year-old, I came across a recipe for painting cookies. I didn’t know how well the idea would go, but in fact, it was a rousing success, and a lot less mess than icing and/or sprinkles.

It’s exactly what it sounds like, only the painting goes on raw dough. So, you make the dough. You roll out the dough and cut it into shapes. You paint the dough. You bake it. You eat the cookies. Nothing could be simpler or more fun.

Two-year-olds – even the ones who are almost three – have relatively short attention spans. So I accelerated the process by making a batch of my famous roll-out cookie dough the night before we baked. Other techniques to keeping the activity rolling along:

1. Before you start, separate one egg for each color you plan to use. Have ready several small bowls – I used Pyrex custard cups – and deposit one yolk in each. Reserve one egg white for securing the baker’s parchment on the pan. Add a teaspoon of water to each yolk and stir to mix well. Add food coloring to create the desired colors. (KG note: Because of the color in the yolk, it’s difficult if not impossible to create purple using standard food color. But purple is one of my granddaughter’s must-haves, so I used gel paste for the purple, which worked well.)

2. Prepare sheets of baker’s parchment to fit two large sheet pans. Baker’s parchment has a tendency to curl, so brush a bit of that reserved egg white at the corners of the sheet pans before you lay the parchment in. This will secure the parchment so that it lays flat and stays in place.

3. Remember, the painting takes place on raw dough. So you want to warn the child that the dough is VERY SOFT and mushy, which means that the painter needs a delicate hand. No pressing on the dough. No poking the paintbrush into the cookie. Also, I let my granddaughter know that the paint was NOT EDIBLE until it was cooked, and that the minute any paint went into her mouth, the entire activity would stop. She understood, and we had no problems.

4. Cut out only 6-7 cookies at one time. Lay the shapes on the sheet pan with plenty of space around them. Then while the child is painting the first sheet of cookies, you can be preparing a second sheet. While the second sheet is being painted, the first sheet can be baking. And on and on it goes. Baking parchment can be re-used over and over, so there’s no need to replace the sheets between batches.

Artists at work -- it's serious business.

So here are the recipes. I posted the cookie dough recipe in 2009, but will repeat it here for convenience.

Painted Cookies


The Dough: Lee’s Best Rollout Cookies

Makes about 6 dozen. (If you are making this for an activity with a child or children, I’d recommend using only half the dough and freezing the rest for another day.)

1 cup sugar
½ cup Crisco
½ stick unsalted butter
1 teaspoon vanilla
1 teaspoon lemon juice
2 eggs
2½ cups flour (use the dipping method to measure)
1 teaspoon baking powder
1 teaspoon salt

Preheat oven to 400º. Prepare two large sheet pans with baker’s parchment.

Cream together sugar, Crisco, and butter, letting the mixer run for a couple of minutes until the mixture is light and fluffy. (I know, Crisco is that bad kind of fat, but let’s remember, folks: these are cookies. And you need a fat with a higher melting point to keep the cookies from losing their shapes.)

Add eggs, mixing in one at a time, and vanilla and lemon juice. Sift together the dry ingredients and add them to the wet. Mix until the dry is completely incorporated, then wrap the dough in a sheet of wax paper and refrigerate at least a couple of hours. (I try to let this be overnight.)


The dough rolling part is what always put me off until my mother-in-law suggested I roll it between two layers of wax paper dusted with flour. What a difference. And the dough is more manageable if you divide it into two parts, refrigerating the scraps in between working with each half. I like my cookies crisp, so I roll the dough to a thickness of about one eighth of an inch, but you should experiment and see what works for you. For the painted cookies, I rolled the dough a bit thicker than usual. Bake painted cookies 8 minutes at 400º.

Rolling is easy if you have enough Play-Doh experience.

The Paint 

For each color, separate one egg, and save the white for another use. Add 1 teaspoon of water to the yolk, and stir until well combined and consistent color. Add food coloring to achieve the desired color and stir. Even the egg yolk “paint” isn’t thick, so painting a second coat on the cookies works well to get brighter baked color.

Also, while researching this activity, I found a recipe for painting dough that used a corn syrup-based paint. It sounded a little more carefree than the raw egg yolks, but the colors and finish didn’t emerge nearly as nicely from the oven. I recommend using the egg-based paint and just warning your child against eating it.

The samples got a bit overcooked. So it goes. Fish on the left got corn syrup-based paint.

* * *

And now, the Kitchen Goddess moves on to decorating almost 200 roll-out cookies that she has baked for the neighborhood holiday party this weekend. Someone just shoot me.