Showing posts with label onions. Show all posts

Friday, August 5, 2016

Cure for the Summer Cold
What’s cooking? Mustard-Ginger Chicken


Kitchen Goddess alert: This is the KG’s 300th post. You know what that means, don’t you? It means the Goddess is officially nuts. But we’re all crazy in some way. This blog is mine. Or at least one of them. This post is about another.

It seems almost inevitable. You handle 104 different decks of cards over four days in a row – 208 hands of 13 cards each. A total of 2,704 cards that have been handled by 104 other players. And it’s not like you can wash your hands after every round.


I’ve just returned from Washington, DC, where my hubby and I competed in the American Contract Bridge League’s Summer National Bridge Tournament. It’s a game dear to both of our hearts, but it has its share of health issues.

For starters, playing 8 hours of bridge a day is mentally exhausting, so it’s important to get enough sleep. I went into the tournament well rested, but didn’t remain that way long. Our hotel room faced East, and the blackout curtains worked really well... except for just that little bit at the top of the window, where the summer sun came in laser-like at a very early hour. The evening sessions at the tournament don’t end until about 11:15, so the very best you can do is to be in bed by 12:30 or 1a.m. As a result, there was hardly a night that I got more than 6-7 hours of rest.

Then you have the playing area, which for the first two days was a perfectly reasonable temperature. But the event for our last two days took place in what felt like a meat locker. So... hot outside, freezing cold inside, back outside to the heat, back inside to the North Pole – nothing more than the reverse of winter conditions, and a perfect recipe for immune system vulnerability. According to an article I read in the Wall Street Journal, extreme cold constricts the blood vessels in your nose and throat, which makes you more susceptible to viruses. Which takes me back to the germs.

That said, we still love the game, and the form of competition. So it won’t stop us from heading off to another tournament. Next time, maybe I’ll take a sweatshirt and wear gloves.

So here I am, with a summer cold. And as we all know, one of the best foods when you’re suffering from a cold – winter or summer – is chicken soup.

How do I love thee, chicken soup? Let me count the ways.

1. First, soups work well because nutrients are easier to absorb in liquid form, and even a small amount of oil promotes absorption of vitamins A, D, K, and E.
2. Hot liquids get all that nasty nasal mucus out of the body faster, thus easing congestion.
3. Organosulfides (found in garlic and onions) stimulate production of certain immune cells.
4. Carrots – big chicken soup veggies – help with antibody production.
5. Researchers at the University of Nebraska have found that the combination of vegetables and poultry in soup can help you feel better by alleviating respiratory tract inflammation.

So I had a chicken, and was preparing to roast it using just salt and pepper and a little olive oil, when I remembered a Silver Palate recipe that was one of my old reliables in the days when my kids were teens. The Silver Palate ladies called it “Bobbie’s Chicken,” after their friend who developed it; but I don’t know Bobbie, so I’m just calling it Mustard-Ginger Chicken. It’s ridiculously easy to make – though a bit more cooking time than a plain roast chicken – but the result is very long on flavor, and incredibly moist. In fact, the dish is almost more of a stew than roast chicken, so you’ll definitely want to serve it over noodles or rice; whatever you call it, it’s delicious and one of the most popular among Silver Palate fans.

If you want to summer it up, serve it with a nice, big salad of summer greens. That’s what I did, and the next day, I made soup from the leftovers.

Kitchen Goddess note: The ginger/mustard combination here is unusual but quite nice – you have to trust the recipe and its legions of fans. One of the best features of this recipe is its flexibility: you can use a larger or smaller chicken and simply adjust the spices and amount of time in the oven for each stage. Also, the original recipe calls for 6 onions. Well, folks, the KG doesn’t always have exactly 6 onions, and what size would that be in any case? The recipe didn’t say. So the Kitchen Goddess has used – at various times – 4 large onions, or 5 medium ones, or 2 large and 2-3 small onions. Pretty much whatever’s in the pantry, and that’s hardly ever 6 onions of the same size. And if they’re large onions, you may want to cut them into eighths. Use your judgment and don’t fret.


Mustard-Ginger Chicken (a.k.a. “Bobbie’s Chicken”)

Adapted from The New Basics Cookbook (Workman, 1989), by Julee Rosso & Sheila Lukins

Serves 4.

Ingredients
1 young chicken (also called broilers or fryers or roasters), 4-4 ½ pounds, with giblets
1 lemon, halved
Kosher salt and freshly ground black pepper, to taste
2 tablespoons ground ginger
2 tablespoons dry mustard
4-6 onions, quartered (see Note, above)
bouillon cubes for 2 cups of broth (KG prefers Knorr, but use what you like)

Procedure
Rinse and dry the chicken. [Kitchen Goddess note: The great chef Thomas Keller, of French Laundry fame, recommends doing this part ahead of time and letting the chicken sit uncovered in the fridge for at least an hour or up to overnight. That dries out the skin which makes it crispier in the cooking. Just a suggestion.]

About two hours before you are ready to serve, preheat the oven to 425º.

Squeeze the lemon over the chicken and rub the juice inside and out. Place the chicken into a baking pan that allows room for 3-4 of the onions. Salt and pepper the bird (all sides) to your liking. Mix the mustard and ginger together and rub it all over the chicken. Scatter 3-4 of the onion pieces around the pan.

Put the pan into the oven and bake the chicken 30 minutes, undisturbed.

While the chicken cooks, rinse the giblets and put them – minus the liver, which adds an overly strong flavor – into a small saucepan with the remaining onion, 2 cups of water, and the bouillon cubes. Bring to a low boil and simmer 30 minutes. Reserve.

After the chicken has been 30 minutes in the oven, turn down the heat to 375º, and add ¾ cup water to the pan. Return the chicken to the oven and cook another 30 minutes, basting once or twice.

When the second 30 minutes is up, strain the stock (discarding the solids) and remove the chicken from the oven. Pour ¾ cup of stock over and around the chicken, and bake another 30 minutes, basting occasionally.

Remove the pan from the oven (leaving the oven on) and remove the chicken to a cutting board. (You may want to place the cutting board into a sheet pan, to keep from spilling any of that yummy chicken juice.) Cut the chicken into fourths, and return it to the baking pan. [A final KG note: This part is easier than it sounds, because the chicken will be so tender the bones can be cut through with almost no effort, and the KG says that as a person who really doesn’t like cutting up poultry. For presentation purposes, the KG recommends removing the backbone and discarding it or saving it for stock.]

Pour the remaining stock over the chicken and onions, and cover or tent the pan with foil. Put it back into the oven for 15 minutes. Serve over noodles or rice, and all else you’ll need is a simple green salad.


Monday, May 18, 2015

Salty Sweet is the New Black
What’s cooking? Bacon-Onion Jam


Today, I bring you a wordsmithing tidbit about snowclones. If you want to skip the hors d’oeuvre and move straight to the entrée, feel free. It’s down there just after the three ***s.

Several years ago, I was having lunch at a restaurant in midtown Manhattan. I have a habit in restaurants – good or bad, I’m not sure, but shared by my hubby, so... – of checking out the people at nearby tables. I found my attention particularly drawn to a group of about 8 women. The atmosphere around that table fairly vibrated with cool sophistication, and I couldn’t figure  out why until I noticed that they were all dressed either solidly in black or in a combination of black, white, and gray.

In the lexicon of style, black is the color of strength, mystery, and sophistication. So when writers (or more likely, marketers) talk about something being “the new black,” they’re suggesting the ascendancy of that thing to the new power position. The new lead dog.

I have only recently learned that this use of cliché is called a snowclone – a 21st-century word that Wikipedia defines as “a multi-use, customizable, instantly recognizable, time-worn, quoted or misquoted phrase or sentence that can be used in an entirely open array of different variants.” Completely clear to me, now – how about you?

What they’re trying to say is that a snowclone is a fill-in-the-blank template like something you’d get from a game of MadLibs. Like “I have a [blank] and I’m not afraid to use it.” Or “Have [blank], will travel.” Or “The [Xs] called: they want their [Y] back.” Interestingly, both the original cliché and the altered version are considered snowclones. The name emerged from the cliché about Eskimos having so many words for snow.

Now, I don’t know the first use of the phrase, “[blank] is the new black.” It probably came from the cover of some fashion magazine. And I probably should have titled today’s post “Salty Sweet Is the New Umami,” to give the fully parallel structure its due. But then I wouldn’t have had an excuse to tell you about that group I saw at a Manhattan restaurant.

* * *

In any case, fads in the food world are nothing new. Remember when sliders might have been kids on a playground? When the only filling you’d find in a taco was ground beef? When the idea of a $5 cupcake was laughable?

The Kitchen Goddess subscribes to a handful of online food world newsletters – not a great idea, by the way, if you have any illusions of getting something done when you sit down at your desk. At least once every few months, one of these publications will announce a new trend in foodism.

Well, folks, apparently salty sweet is the latest craze. It’s not totally new – witness salted caramels, Trader Joe’s chocolate-covered almonds with sea salt, and these Goat Cheese and Nutella Truffles, which are sprinkled with finishing salt. Then, of course, there’s the whole chocolate-covered bacon thing.


And in that vein, I have discovered a most wonderful spread – a condiment you will want to eat straight out of the jar, if you can even bring yourself to put it into a jar in the first place. Bacon-Onion Jam. Phew. This stuff is so lustful, just saying the words gives me the vapors. Sweet, caramelized onions mixed with crispy bacon. Add a peppery kick and savory notes from beer, coffee, and 2-3 vinegars, then stew it all down to a jammy texture and run the whole thing through your food processor to remove the largest chunks. I read about it first in Sam Sifton’s column in The New York Times, but there are a zillion (okay, quite a few) variations. Today, you get mine.

How to use Bacon-Onion Jam?

■ Add a dollop atop chicken-liver pâté on toast (per Sifton’s recommendation)
■ Spread like a condiment on meat- or chicken-based sandwiches or burgers
■ Combine with cheddar cheese as part of a grilled cheese sandwich
■ Smear some on crackers and add crumbled blue cheese for an hors d’oeuvre
■ Dilute with maple syrup to pour over waffles.

You can thank me later.


Bacon-Onion Jam


Makes 3 cups.

1½ pounds bacon, cut in pieces 2-3 inches long
8 ounces shallots, finely chopped (about 1 cup)
1 large Vidalia onion, finely chopped (2½ cups)
4 large cloves garlic, finely chopped
1½ teaspoons Aleppo pepper (can substitute chili powder)
½ teaspoon paprika (preferably smoked paprika)
¼ cup maple syrup (the real stuff, please)
½ cup brown sugar, packed
½ - ¾ cup strong coffee
½ cup malt beverage (like beer) or bourbon
½ cup vinegar mix (I used 2 ounces balsamic, 1 ounce fig-infused, 1 ounce sherry vinegar)
salt and freshly ground pepper to taste


In a large, deep skillet or Dutch oven, or a small stockpot (I used an 8-quart stockpot, which kept the bacon fat from spritzing all over my kitchen), cook the bacon over medium heat until crisp. Transfer the bacon to paper towels to drain, and discard all but 1 tablespoon of the bacon fat from the pot.

Add the onions to the fat and cook over medium heat for 4-5 minutes, then turn the heat to low and add the garlic, Aleppo pepper, and paprika. Cook, stirring, for 30 seconds. Stir in the syrup and brown sugar and continue to stir until the sugar dissolves.

Add the coffee, alcohol, and vinegars. Raise the heat to medium high until the mixture reaches a boil, then cover the pot and let it cook (low boil) 15 minutes. Remove the cover, fold in the bacon, and adjust the heat to let the mixture simmer uncovered for about 1 hour, until most of the water has boiled off and the mixture reaches a jammy consistency. Remove from heat and season to taste with salt and pepper.


At this point, you must decide how much texture you want in your jam. Go with it as is, which will have sizeable chunks of bacon. Or scrape the jam into a food processor and process until it reaches a consistency you like. [The Kitchen Goddess prefers hers to be just slightly chunky, so she pulses it in the food processor for about 1 minute.]

Spoon the jam into jars and refrigerate. Well covered, it will keep in the refrigerator for a week or two. (Hah -- a week? If it survives even a few days, I’ll be impressed.)  Allow the jam to come to room temperature before serving.

It's the cocktail hour somewhere and these bites take no time to construct. Round crackers are brie with bacon jam; hexagonal crackers serve the jam with Maytag blue. Both hit the spot.


Sunday, December 14, 2014

A Holiday Giveaway!! Season’s Greetings from the Kitchen Goddess
What’s cooking? Italian Veggie Gratin


In the spirit of holiday cheer, my friends at Hamilton Beach have offered another giveaway to Spoon & Ink readers: a Stack & Snap™ 10-Cup Food Processor. They sent me one for testing, and I used it to make an Italian-inspired vegetable gratin. But more on that later. First let’s talk about how you can get your own Stack & Snap – free!

Win a Hamilton Beach Stack & Snap 10-Cup Food Processor!
If you’d like to participate in the drawing for one of these handy time-saving, work-saving machines, all you have to do is leave a comment – either at the bottom of this post or on the Spoon & Ink Facebook page. Just be sure to sign it, and you’ll be entered to win. I’ll be drawing a name and announcing it in a post on Monday, December 22. So leave your comment before then.


The Kitchen Goddess is not one to insist on all the latest appliances. But a food processor is something that even the non-serious cooks among you should have. In fact, many of my favorite recipes would be complete non-starters in the absence of a food processor: Arugula Pesto, Fromage Fort, Greek Almond Cookies, and 3 of the 4 veggie sides I posted about for Thanksgiving (Asparagus Flan, Sweet Potato-Ginger Soufflé, and Watercress Purée). Moreover, the Stack & Snap Processor is so reasonably priced that, even if you don’t win the drawing, it’s easy to fit one into your budget.

The Machine

The Kitchen Goddess was totally in her element with this road test. First, I tried out the processor’s most basic feature: the chopping blade. It nicely pulverized the almonds for a meringue in a recipe I’ll tell you about another day.


So I moved on to the slicing/shredding blade. For convenience, it's a single blade, with "Slice" clearly marked on one side and "Shred" on the other. I wanted to use both features in a single recipe, so I looked around my kitchen and found onions, zucchini, crimini mushrooms, and a package of those adorable grape tomatoes. I took inspiration from a zucchini gratin posted by the great Ina Garten, whose recipes are known to be easy and straightforward, and I tweaked it in so many ways that it no longer looks like Ina’s at all, though it’s still easy and straightforward.

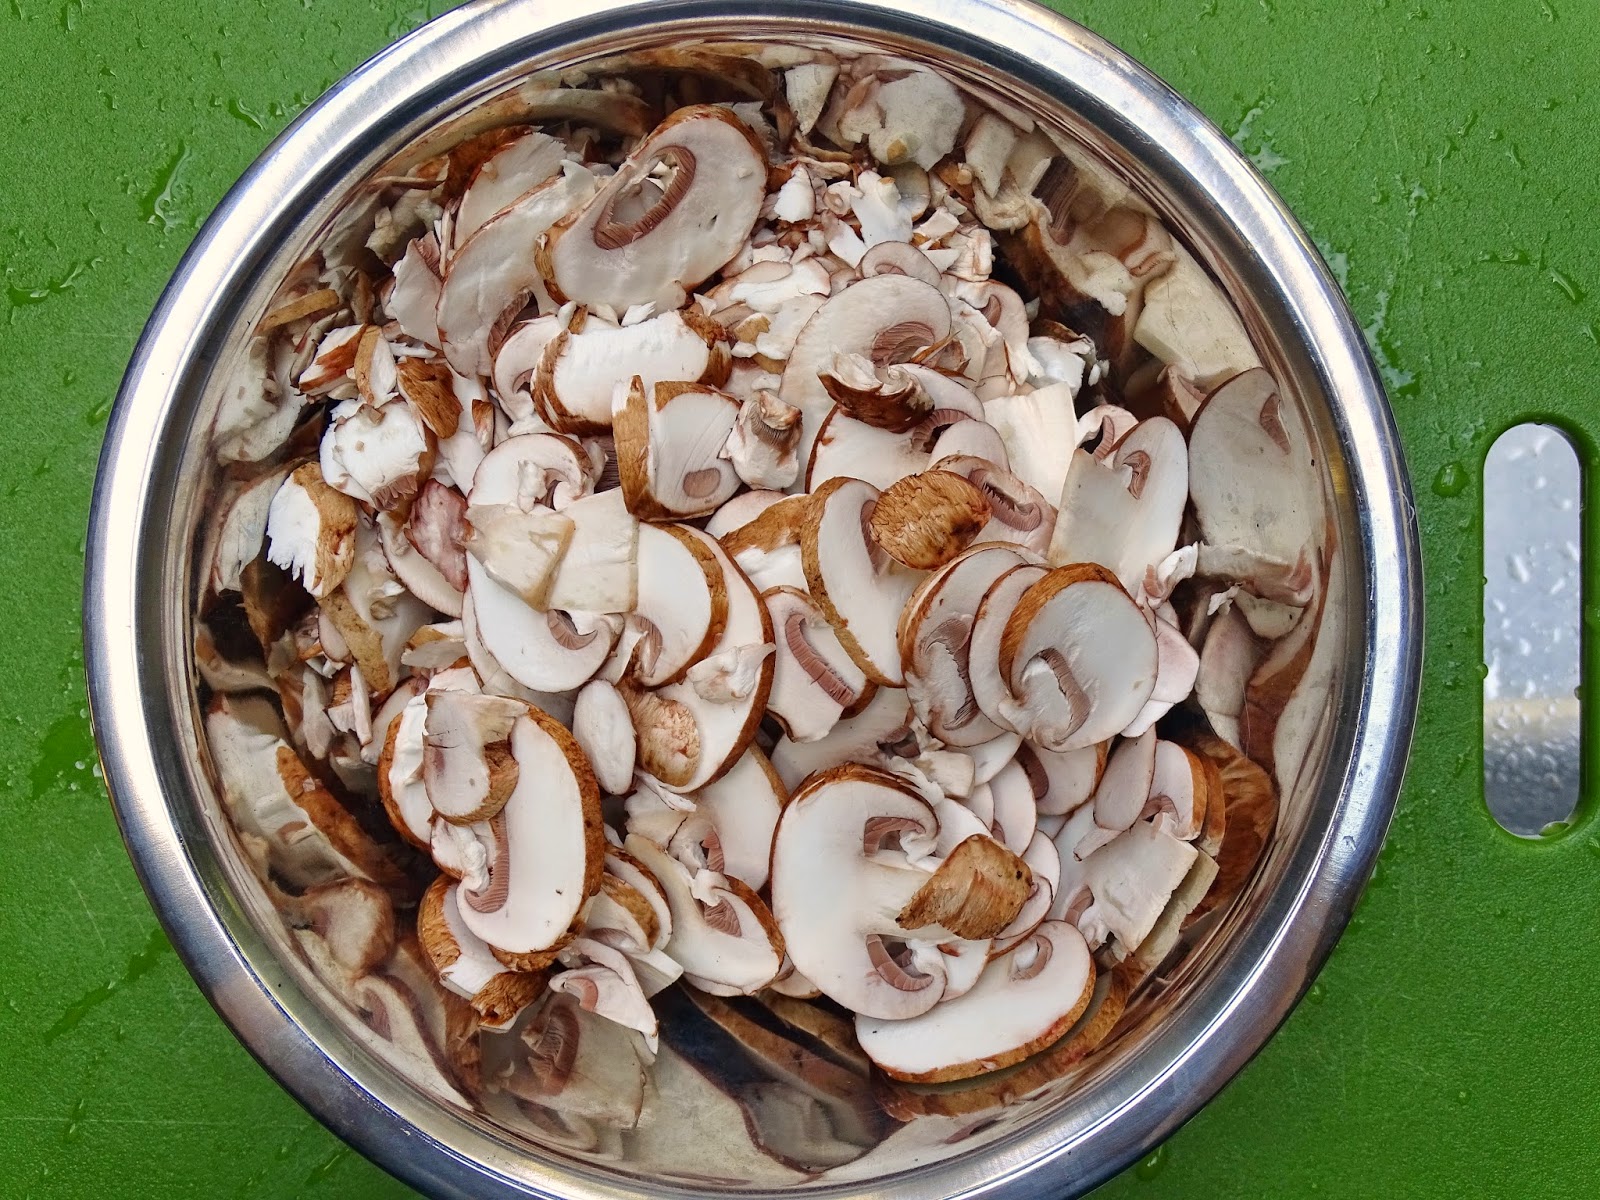
The Stack & Snap performed beautifully, except on the mushrooms, which – frankly – don’t really stand up to any food processor. (Not that it didn’t slice them but it’s too hard to control the position of a mushroom in the feeder tube, so more than a few came out looking like tiny frisbees. I sliced the rest of the mushrooms with my mandoline.) But my Stack & Snap sliced through the onions, the squash, and even the tomatoes like a hot knife through butter. (It’s a Southernism. Forgive me.)


The shredding side of the slicing/shredding disk made short work of a chunk of Parmigiano-Reggiano, and in no time flat, I had the mise en place for my gratin. Which, by the way, is completely delicious and redolent of Italy.


Italian Veggie Gratin


Serves 6.

6 tablespoons unsalted butter, separated
2 large onions (12-13 ounces total), halved and thinly sliced
8 ounces crimini mushrooms, thinly sliced
5 small zucchini (about 1¾ pounds), thinly sliced
10 ounces grape tomatoes, thinly sliced
1½ teaspoons kosher salt
½ teaspoon freshly ground black pepper
4 ounces fresh goat cheese
2½ ounces Parmigiano-Reggiano cheese, grated
1½ cups fresh bread crumbs (or panko or a combination)

Preheat oven to 400º and lightly grease a 2-quart gratin dish (about 12 x 9 x 2 inches).

Melt 4 tablespoons of the butter in a large sauté pan or skillet over medium-low heat and add the onions. Sauté the onions for 20 minutes, stirring occasionally. The onions should cook but not brown, so if they begin to brown, turn the heat down.

While the onions are cooking, take a small skillet (preferably non-stick) and heat another tablespoon of the butter on medium-high. When the butter is hot, add the mushrooms and sauté, stirring, for about 5 minutes. Remove the pan from the heat and set aside.

Once the onions have cooked, add the zucchini, stir, and cook covered for 8-10 more minutes, until the zucchini are tender. Stir in the tomatoes, the reserved cooked mushrooms, and the salt and pepper. Crumble the goat cheese over the mixture and stir it in. Cover and cook another 5 minutes.


Remove the vegetable mixture to the prepared gratin dish. In a small bowl, stir together the Parmigiano-Reggiano and the bread crumbs. Melt the remaining tablespoon of butter and stir it into the cheese/bread crumbs, mixing enough to get the bread crumbs well moistened with the butter. Sprinkle the mix over the vegetables and bake at 400º for 20 minutes or until the top bubbles and browns.


Don’t forget to sign up for the drawing to win your own Stack & Snap Food Processor!