Did you think I’d forgotten about you? Never. But I’ve been crawling through my research – trying desperately as I do every year to get my *&#@ together as a nod to the “fresh start” mentality of early January, and it’s been slow progress. As you know, the Kitchen Goddess is a relentless reader of cookbooks, food magazines, newspaper articles about food, and various online food-related newsletters. As a result, she accumulates a treasure trove of tidbits about cooking, kitchen equipment, and food itself.
So here we are, past the midpoint of January, and I’m still clearing the piles from my desk. But I’ve come across many of these gems – on sticky notes, as sidebars to other writing, at the bottom of grocery lists,... pretty much everywhere. And it occurred to me that I could rid myself of some of these random pieces of paper by passing along the information in a post. That way, at least I’ll know where they are when I need them for reference.
Some of this may not be news to you. Or not interesting to you. In which case, you can skip down to today’s recipe for a dessert that will be just the thing on a cold winter evening. But for the rest of you who, like the KG herself, never tire of kitchen arcana, here goes.
 1. Eggs separate more easily when they are cold, because the proteins in the whites hold together more tightly when cold. But whites whip higher and firmer at room temperature. So if you have a recipe that calls for separated eggs, make that the first thing you do when you start the recipe, then you can let the whites sit in a bowl on the counter until it’s time to whip them. If you’re putting the whole egg into a recipe, like for cake batter, it makes no detectable difference (according to the friendly folks at America’s Test Kitchen) in the taste if the eggs are cold or room temp, although some pastry chefs claim that room temp eggs produce a lighter texture.
Remove the eggs immediately into an ice water bath – which will keep that dimple from developing in the round end of the shelled egg, and helps with the shell removal. Chill eggs completely – 15 minutes at least and maybe even in the fridge overnight – before peeling. Peel under running water.
Now there’s no perfect method for achieving perfectly cooked, perfectly peeled eggs, but apparently – and the Kitchen Goddess is waaay too lazy to conduct all these tests herself – the factor that López-Alt (who does have the patience for testing) found made the most difference in how cleanly eggs released from their shells was the temperature at which they started: “A hot start produces easier-to-peel eggs.” And that goes for cooking the eggs in boiling water or in a steamer.
 3. Potatoes, on the other hand, need to be started in cold water. Why? Because potatoes are very dense, so they need long, gradual heating to cook evenly.
4. How long have you had that tin of baking powder? Ever wonder if it’s still good? Most sources will tell you that six months is the limit, but I think that may vary depending on where and how you store it. Worry no more. Take a small bowl with ½ cup of very hot water (tap water is fine), and stir into it about ¼ teaspoon of your baking powder. If the powder bubbles up immediately, it’ll still make your cakes and cookies rise. If your baking powder doesn’t fizz, toss it and get a new can.
 5. Something new on the sugar front: toasting sugar. Take a cup of sugar, spread it out in an ovenproof skillet, and bake it for 2+ hours at 300º. For the photo here, I roasted mine for 2½ hours. What happens is magic: through a process called thermal decomposition, the sugar caramelizes without melting. As a result, the toasted sugar tastes less sweet, but takes on a subtle, slightly caramel flavor that’s like sugar umami. I haven’t used it yet in anything but my coffee, where it totally took the edge off without making it terribly sweet. Mmm-mm. Stella Parks, professional baker and delightful blogger (bravetart.com), stumbled on this idea by accident, and says it’s terrific in meringues, berry pies, banana bread,... She says you can substitute it 1:1 in any recipe. Try it and let me know how you use it.
 |
| Toasted sugar after 2½ hours. With a small bowl of untoasted sugar for contrast. |
So aren’t you glad you kept reading?
And now for today’s treat, which I made before I learned about toasting sugar. You can be sure I’ll be trying it that way next time.
* * *
My book group meets once a month, and because most of the others are working professionals, no one has time to eat dinner beforehand. So we structure it as a potluck. No assignments, no agreements as to who’s bringing what; so you can never tell what the mix of dishes will be. But no one seems to care, and most of the time it’s a pretty even distribution of protein, veggies, and dessert.
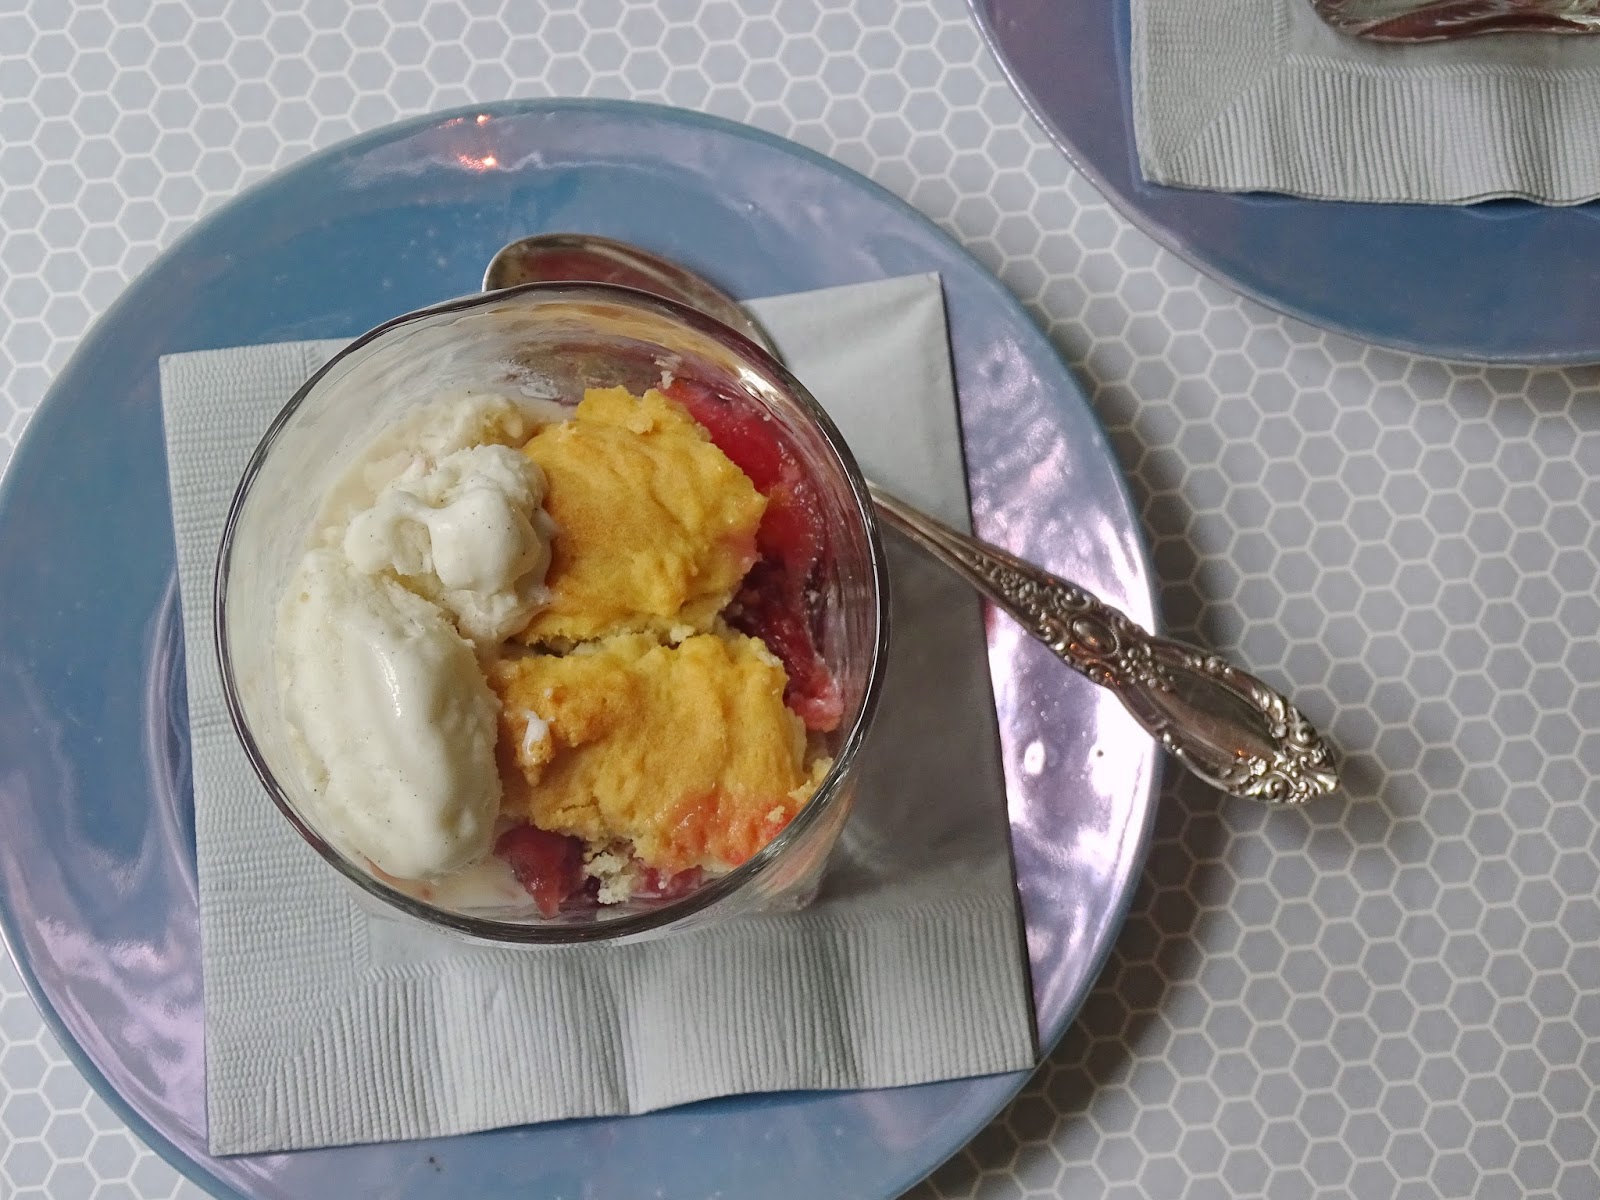
This month, though, we got salads and desserts. Which also didn’t bother anyone, since more salad means you can enjoy more dessert. The Kitchen Goddess took this cobbler – it’s winter, after all, and what better time for apples and cobbler – and while she doesn’t see these evenings as competitive events, she was pleased to note that this dish appeared to be the favorite dessert. (FYI, what you see in these photos is a doubling of the recipe.)

Cranberry-Apple Cobbler
Adapted from Williams-Sonoma Kitchen Library: Fruit DessertsServes 6.
Ingredients
For the filling:
1½ pounds tart, firm apples (I recommend Granny Smith), peeled, cored, and cut into ½-inch dice
8 ounces (about 2 cups) cranberries (fresh or frozen)
1 cup sugar
2 tablespoons candied ginger, chopped
For the biscuit topping:
1¼ cups (163 grams) all-purpose flour
2 teaspoons baking powder
½ teaspoon salt
⅓ cup unsalted butter, at room temperature
½ cup milk (whole, low-fat, or skim – your choice)
grated zest of 1 orange
Directions
Preheat the oven to 375º.

Combine the apples and cranberries in a large mixing bowl. Stir in the sugar and candied ginger, and transfer the mixture to a large frying pan. Cook, uncovered, over medium heat until the juices come to a boil, which should take about 10 minutes.
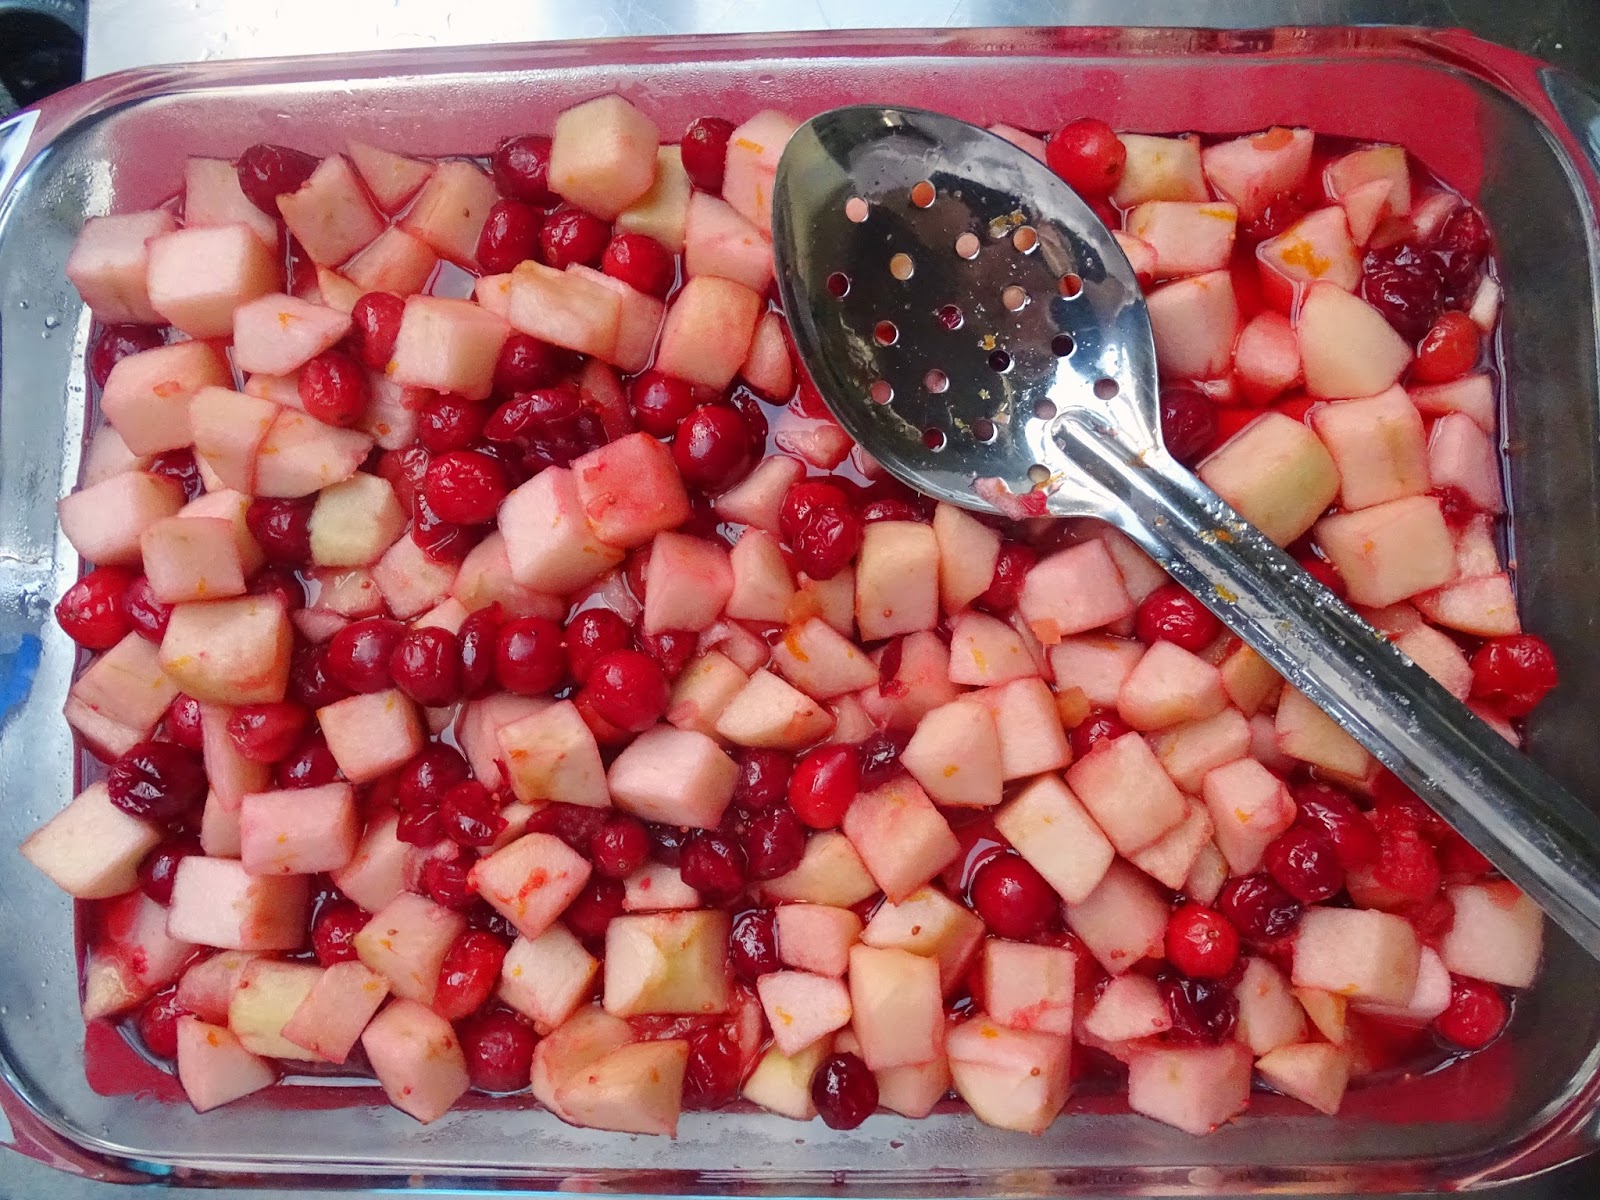
While the fruit is heating, make the biscuit topping. Place the dry ingredients – flour, baking powder, and salt – in the bowl of a food processor, and give it 5-6 good pulses, to mix and aerate the ingredients. Add the butter and continue to pulse the mixture until it takes on the consistency of coarse meal. Add the milk while you continue to pulse, until the dry ingredients have been completely absorbed, but do not overmix. The dough will be wet.

Remove the fruit from the heat and scrape it into an oven-proof casserole. Drop the dough by large spoonfuls on top. Don’t worry if there are spaces between dollops of dough, as these will allow the fruit to bubble up and create a nice mosaic pattern.

Kitchen Goddess note: If you have a nice large cast iron skillet – or something like a Le Creuset braiser – that can go from cooktop to oven, there’s no need to transfer the fruit mixture to a casserole. Just make the entire recipe in that pan.
Serve warm with vanilla ice cream or whipped cream.